How Do I Recover Deleted Folders From An External Hard Drive On Windows?

I checked the Recycle Bin and searched the external hard drive for the folder names, but neither turned up the deleted folders. I removed them while sorting scanned receipts, and one folder also contained photos of appliance labels.

I haven’t copied anything else to the drive since noticing the mistake. What should I try next to recover the folders on Windows, preferably with their original names and subfolders intact? Is there anything I should check before starting a recovery scan?

I compared the recovery options by looking at what each needed: a saved copy somewhere else, or deleted data still sitting on the original drive. That helped me separate restoring a backup from scanning storage. An empty Recycle Bin wouldn’t tell me which route was available, so I didn’t use that as the deciding factor.

I put Disk Drill after the backup checks, rather than treating a recovery scan as the automatic starting point. It supports internal drives, other partitions, external hard drives, USB sticks, and SD cards, but I’d still rather retrieve an existing copy if there’s one available.

Before getting into either route, I looked at what could make recovery harder. The immediate concern was writing anything new to the affected drive. Deleted files can remain after Windows removes their entries and marks the space as available, but new data can overwrite them. That’s why I’d stop downloads, copying, and installations there. If the folder was on C:, I’d keep PC use down too, since browsing and Windows updates can write to that drive.

I also separated hardware trouble from ordinary deletion. If an external drive were clicking or repeatedly disconnecting, I wouldn’t scan it. I’d stop and consider a recovery lab instead. With a flash drive or memory card, I wouldn’t accept a Windows prompt to format it, either.

I checked for copies before looking for remnants

My next stop was the account behind any synced folder. If it lived inside OneDrive, Google Drive, or Dropbox, I’d check that service’s website trash. Deleted items can stay there for a while after disappearing from the PC. That’s a different place to look, not just another view of the Windows Recycle Bin.

Then I looked at the older backup route: Control Panel, System and Security, and Backup and Restore (Windows 7). Despite its name, it’s still available in newer Windows versions. If a backup were listed, I’d choose Restore my files, then Browse for folders, and locate the missing folder there.

After that came Previous Versions. I’d right-click the folder that had contained the deleted folder, open Properties, and check that tab. With File History backing up that location, an older copy could let me open it and copy the missing folder back. An empty list wouldn’t give me anything to restore through that route. This option doesn’t cover USB flash drives or SD cards.

Working through those checks also clarified why the bin might never have held the folder. Shift + Delete, an oversized folder, deletion from removable storage, or removal through Command Prompt or PowerShell can bypass it. Alternatively, the bin might’ve been emptied manually or through cleanup features such as Storage Sense. None of those explanations, by itself, tells me whether the underlying files are still recoverable.

Only then did I move to scanning

With no usable backup, previous version, or cloud copy, I’d turn to the drive itself. I’d keep the installer away from the affected storage, using another drive where possible. For a folder lost from C:, the source’s suggested precautions include keeping the installer on a USB stick or installing elsewhere.

Next, I’d select the affected drive in Disk Drill and choose Search for lost data. I’d let the scan finish, especially on a large external drive, before judging what it found. Searching by folder name comes first; if names haven’t survived, file types such as .docx, .jpg, or .pdf provide another way to narrow things down.

Before recovering anything, I’d use the eye icon to preview files and check the Recovery chances filter. Scanning and previews are free, and the Windows free version allows recovery of up to 100 MB. That gives me a way to inspect what’s available without assuming a listed file will come back intact.

Once I’d selected the folder or individual files, I’d click Recover and choose a different drive. Saving recovered files onto the source drive is exactly the kind of writing I’d been trying to avoid.

My verdict is that I’d check saved copies first and use scanning as the fallback. I’d give Disk Drill a try on a readable drive, but I wouldn’t let the urge to recover something override protecting what’s still there.

3 Likes

Were the receipts scanned directly to the external drive, or copied there from your PC or phone? That missing detail would change where I’d spend the effort. @opsux1’s backup checks make sense, but I’d check the devices and apps that created these particular files, too. Look through the scanning app’s saved documents, your PC’s scan destination, and the phone’s photo library. For receipts, check whether you emailed copies to yourself or someone else.

If you find originals, copy them into a new folder on your PC, not onto the affected drive. I’d make a quick checklist of the missing receipts and photos before sorting anything again. That gives you something concrete to compare against whatever a recovery scan turns up, instead of trying to remember which documents belonged in each folder.

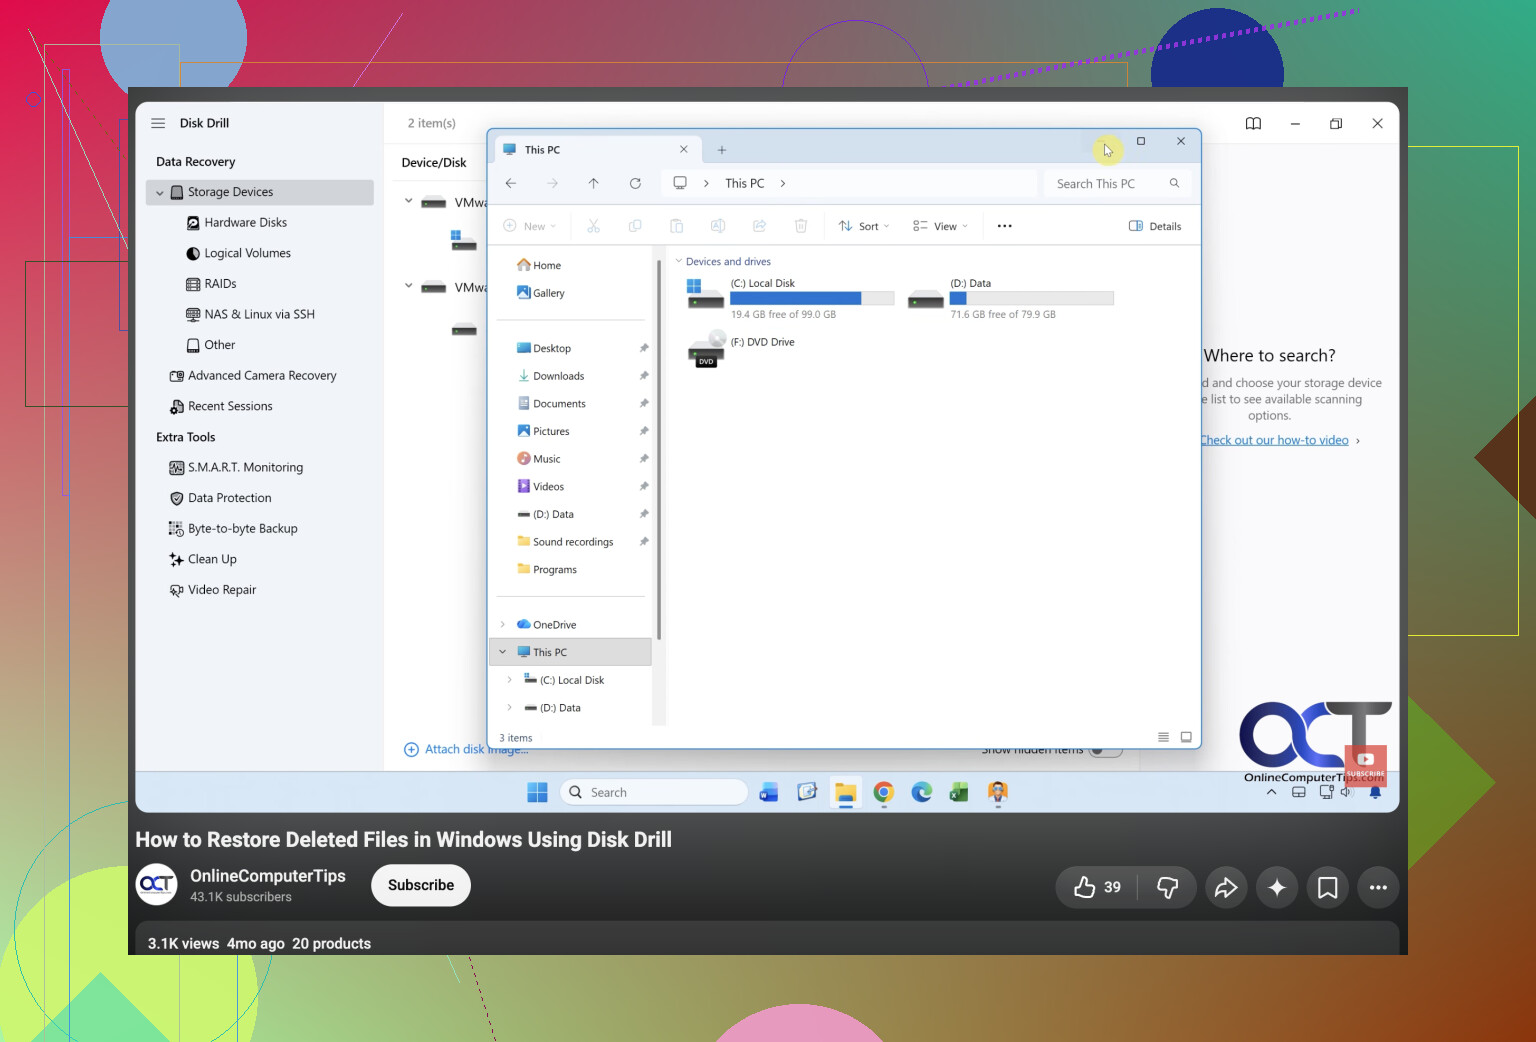
For the remaining files, you can look at This guy’s guide will help you recover the folder while working through Disk Drill, but don’t take the wording as a recovery guarantee. My priority would be getting the missing documents back first, even if rebuilding their folder arrangement takes some manual work.

Don’t delete the recovery output or start removing duplicates just because the missing folder names show up again. For receipts, getting a recognizable folder back isn’t the finish line. You need to be able to read the documents inside it.

@opsux1’s suggestion to preview files is useful, but I’d take the checking further once you’ve saved them elsewhere. A readable receipt from one purchase doesn’t tell you whether the rest of that folder is usable. Before paying for recovery, pick examples from different missing folders rather than checking several similar photos from the same batch.

I’d use Disk Drill for the recovery attempt, with the recovered files going onto the PC or another drive. This video provides a step-by-step guide on how to recover a file and explains the software needed to do so. Check the saved results in your usual PDF reader and photo viewer before doing any renaming or sorting.

For this particular collection, my check would be pretty simple:

  • Open multipage PDFs and look through every page, especially if you scanned several receipts into one document.
  • Zoom in enough to read the merchant, purchase date, and total. A page that looks recognizable at thumbnail size still needs to be useful.
  • Open the photos at full size and check the details you actually needed to keep.
  • Compare the contents of apparent duplicates before throwing either copy away.

I wouldn’t spend much effort rebuilding the original folder layout until that’s done. Make a separate working copy of the files you’ve checked, and organize that copy by purchase or date. Leave the initial recovery output untouched for now so you can revisit it if something turns out to be missing.

That leaves you with two distinct questions: “Did I get this document back?” and “Have I put it in the right folder?” Solve the first before spending another afternoon on the second.

Avoid running CHKDSK with repair options on this drive while you’re trying to recover the folders. It repairs file-system errors, which is a different job from undoing a deletion, and those repairs can change what’s on the disk. A missing folder isn’t itself a reason to repair anything.

I’d push back slightly on @ghostbadger50’s jump from backup checks to scanning the external drive. Assuming the drive is operating normally, I’d prefer to make a disk image first if there’s enough spare storage. Disk Drill earns a place here because it can create a byte-to-byte image and scan that image afterward. That lets you disconnect the original and work from a separate copy. Copying the remaining visible folders in Explorer isn’t equivalent: the image includes space marked unused, where deleted data may still remain.

The catch is storage. Budget for the external drive’s full capacity when saving the image onto another disk, plus room for the recovered files. In Disk Drill, the relevant options are “Byte-to-byte Backup,” then “Attach disk image” for the recovery scan. For receipts you can’t replace, I’d accept that extra preparation rather than make the original drive my working copy.

Keep the disk image private. @real_vector’s suggestion gives you a separate copy to work from, but I’d treat that copy as sensitive, especially with receipts and personal photos involved. If someone offers to inspect it for you, I’d ask why they need the entire image rather than a description of the problem. For help interpreting recovery results here, start with file types and error messages. Crop names, addresses, and payment details out of screenshots rather than posting readable receipts.

Don’t make buying recovery software your next move just because the folders missed the Recycle Bin. @corelynx’s checklist gives you a way to separate replaceable receipts from files that need recovery. For purchases you can identify, check the retailer’s order history or ask for a duplicate receipt. That won’t restore your folders, but it may solve the actual problem without paying for a scan result. Put the photos you can’t recreate at the top of the recovery list. A replacement receipt and an irreplaceable photo don’t deserve the same amount of effort.